A Complete Guide to Apres Gel-X Nails: Application, Benefits, and Care
The technology of beautifying nails has grown tremendously over the years. Since nail polish was first invented, dating as far back as 3000 BC in ancient Chinese culture, nail enhancements have come a long way in terms of materials, finish, durability, color ranges, and techniques like gel and acrylic systems.
Gel and acrylic nails are widely popular, whether you go for a gel nail manicure or prefer acrylic extensions nails, chances are you’ve either tried them or seen someone who has.. But each comes with its own drawbacks. Gel polish offers better durability than regular nail lacquer, yet it doesn’t work well for clients who struggle to grow out their natural nails. Plus, repeated use of LED/UV lamps can be harsh on the skin and nail plate. Acrylic nails solve the length issue and don’t rely on UV curing, but they tend to feel heavy, the removal process is tough, and many dislike the strong odor of the acrylic liquid and powder mix.
This is where Apres Gel-X nails enter the picture. Think of them as the next evolution, a hybrid that combines the best of gel and acrylic while eliminating most of the downsides. While many brands now offer Gel-X extensions, Apres was the original creator, and that’s what we’ll focus on here.
Apres Gel-X nails are made from soft gel, using high-quality materials with fewer harsh chemicals. This makes the application process simpler, more comfortable, and healthier for your nails. In this article, we’ll break down what Gel-X nails are, how they’re applied, and what you should consider if you’re thinking of switching from traditional gel or acrylic to Gel-X.
What are Apres Gel-X Nails?
Apres Gel-X nails are premium soft gel extensions launched in 2017 by the brand Apres. Unlike acrylics or hard gels, Gel-X tips are pre-formed soft gel extensions that cover the entire nail. Because they’re made of flexible soft gel, they’re easier to shape, file, and soak off during Gel-X removal. Unlike other gel nail extensions or acrylic extensions nails, the removal process doesn’t damage your natural nail. The curing process is faster, the chemical exposure is lower, and removal is more gentle compared to acrylic or traditional gel enhancements.
Apres introduced this system to simplify the extension process. Traditional acrylic or gel nails require multiple steps, a strong skill set, and a lot of tools. Gel-X streamlines this, making it easier for both professional nail techs and DIY users to achieve salon-quality extensions without compromising on strength or beauty.
Why are Apres Gel-X Nails Better than Other Brands?
After Apres debuted its Gel-X system, other brands released their own versions. But Apres remains the original innovator and the most trusted name in the category. The brand continually improves its formula and now offers two different types of tips to fit a wide variety of nail shapes:
- Natural Gel-X Tips – Designed for flatter nail beds with minimal curvature.
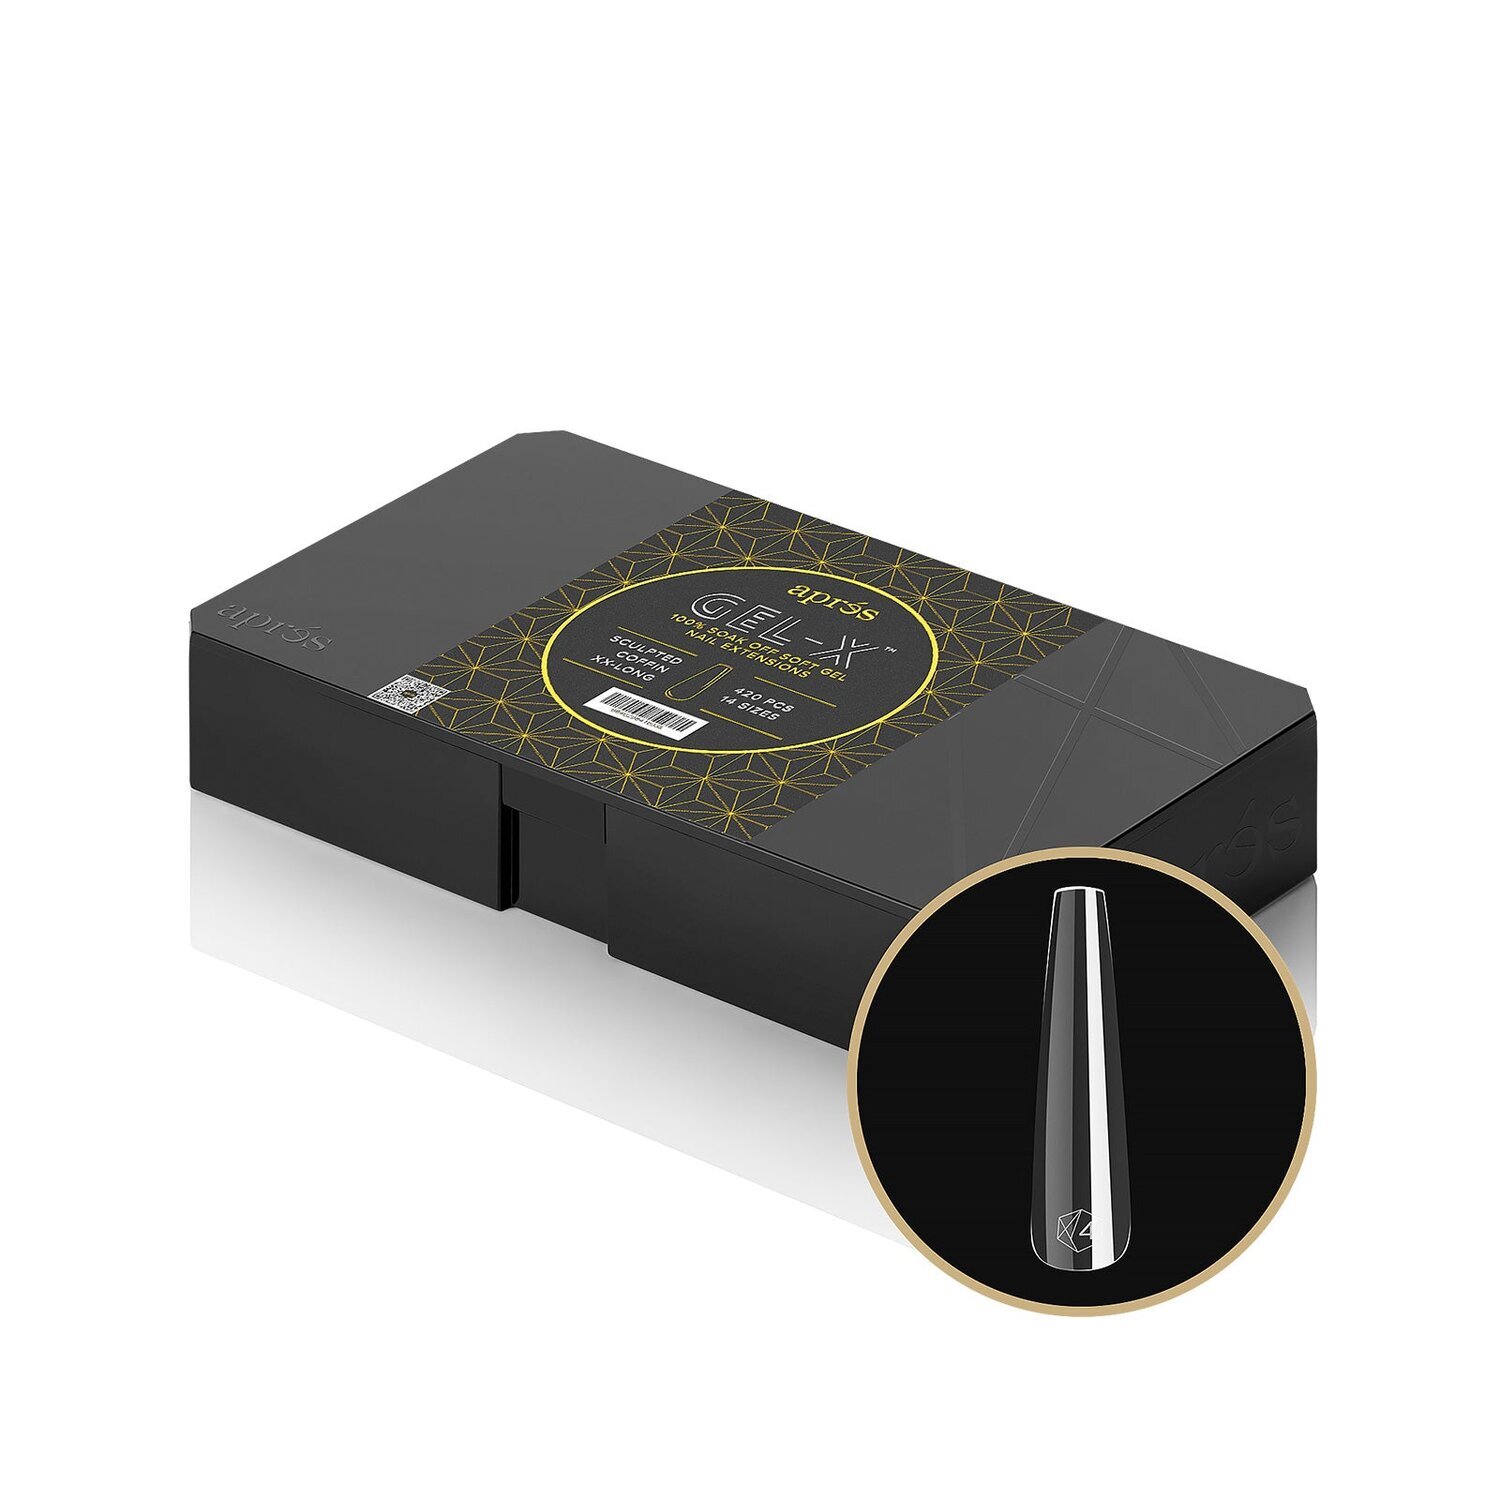
- Sculpted Gel-X Tips – Ideal for clients with more curved nail beds.
By offering both natural and sculpted options, Apres Gel-X nails deliver a truly customizable and inclusive solution that works for all nail types and curvatures.
How to Use Apres Gel-X Nails
Let’s go step by step through how to apply Apres Gel-X nails. It’s simpler than it looks, especially once you know what’s in the kit.
A standard Apres Gel-X kit usually comes with:
With these essentials on hand, you’re ready to get started with your Gel-X application.
Step-by-Step Application Process
1. Nail Prep
- Start with clean, prepped nails.
- Wipe the surface with acetone to remove oils and debris.
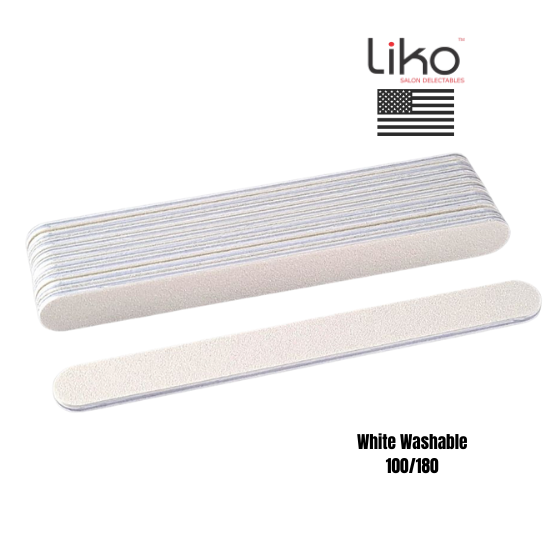
- Lightly buff, but avoid over-filing to protect the natural nail plate.
2. Tip Selection & Sizing
- Choose Gel-X tips that fit the width of each nail from sidewall to sidewall.
- Size all ten tips before beginning to ensure accuracy.
3. Tip Etching (Underside)
- Use an e-file or nail file to gently etch the inside of each tip.
- This roughens the surface for stronger adhesion to the natural nail.
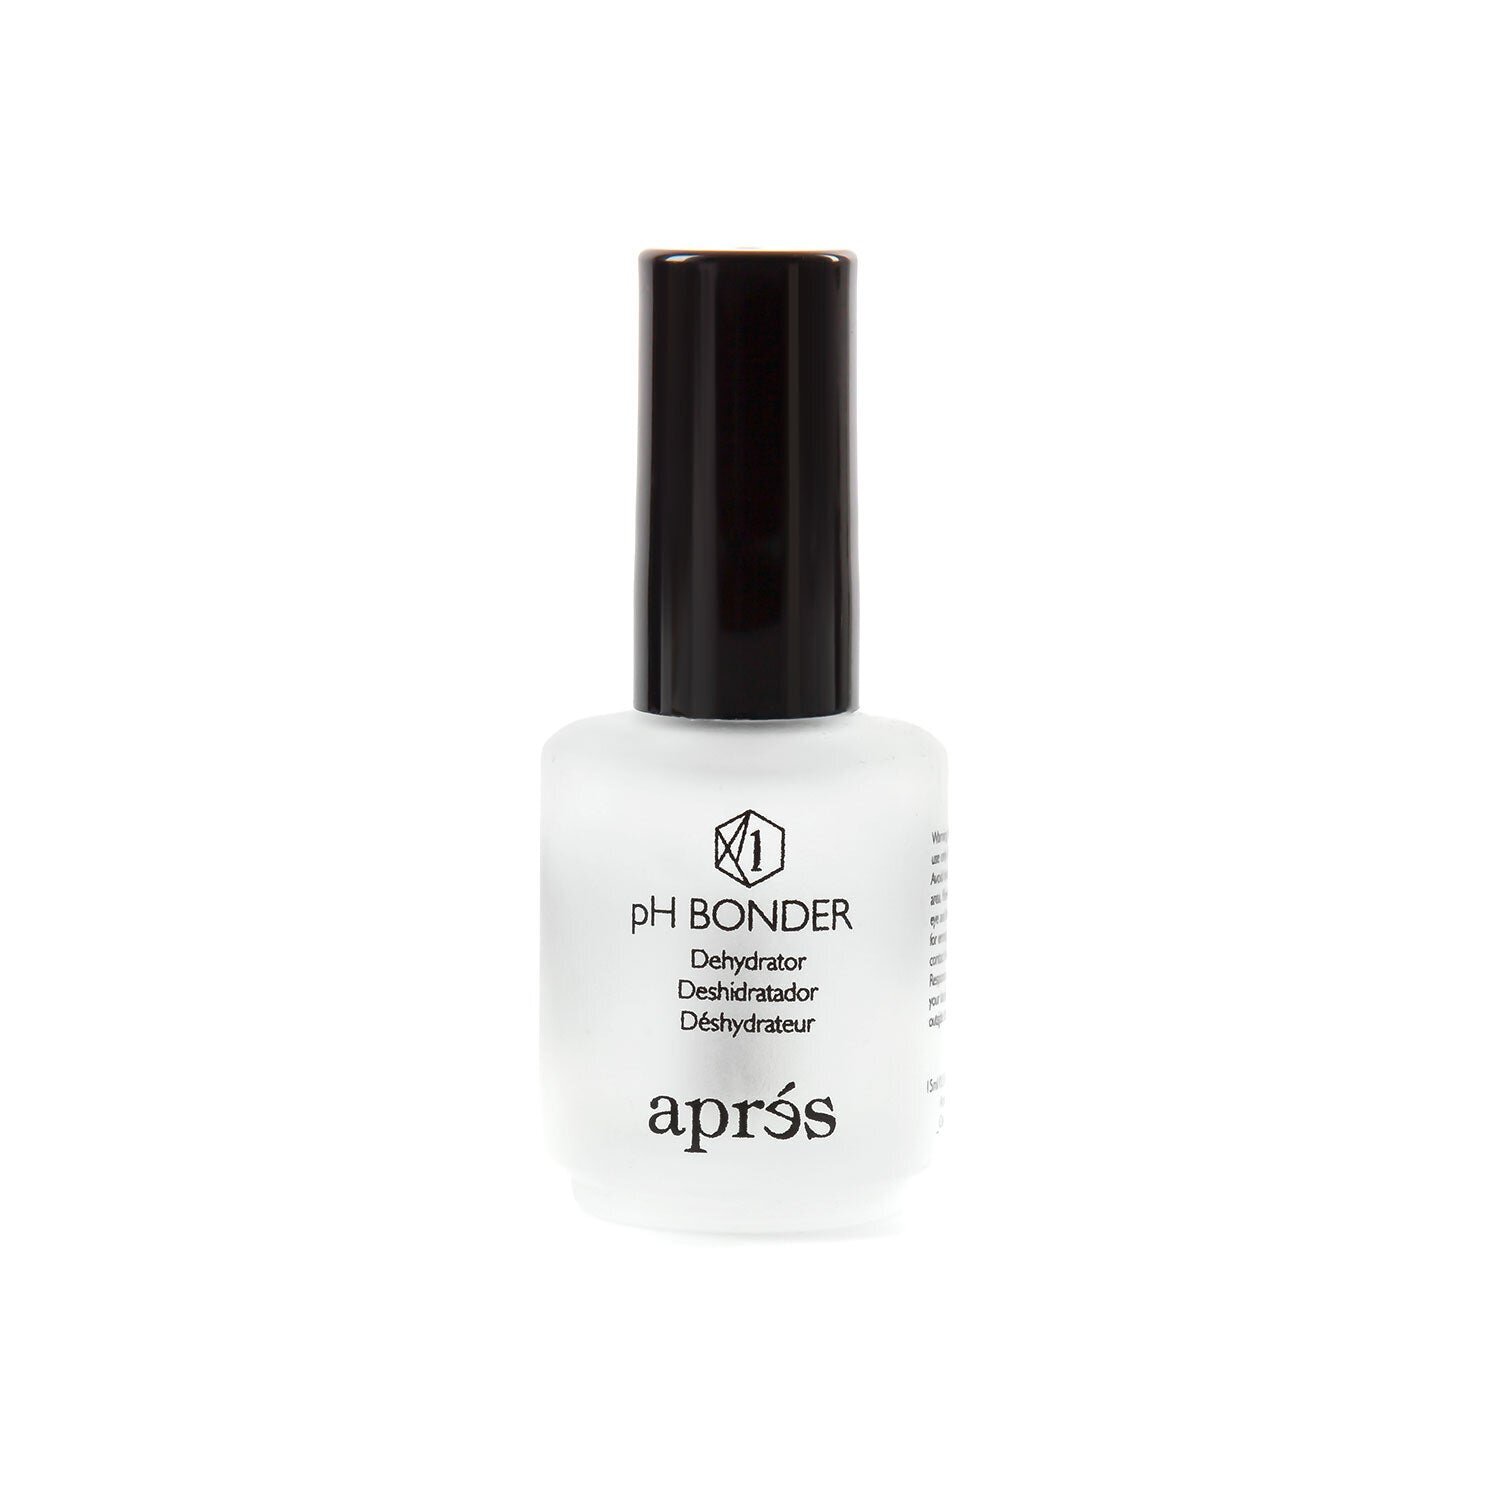
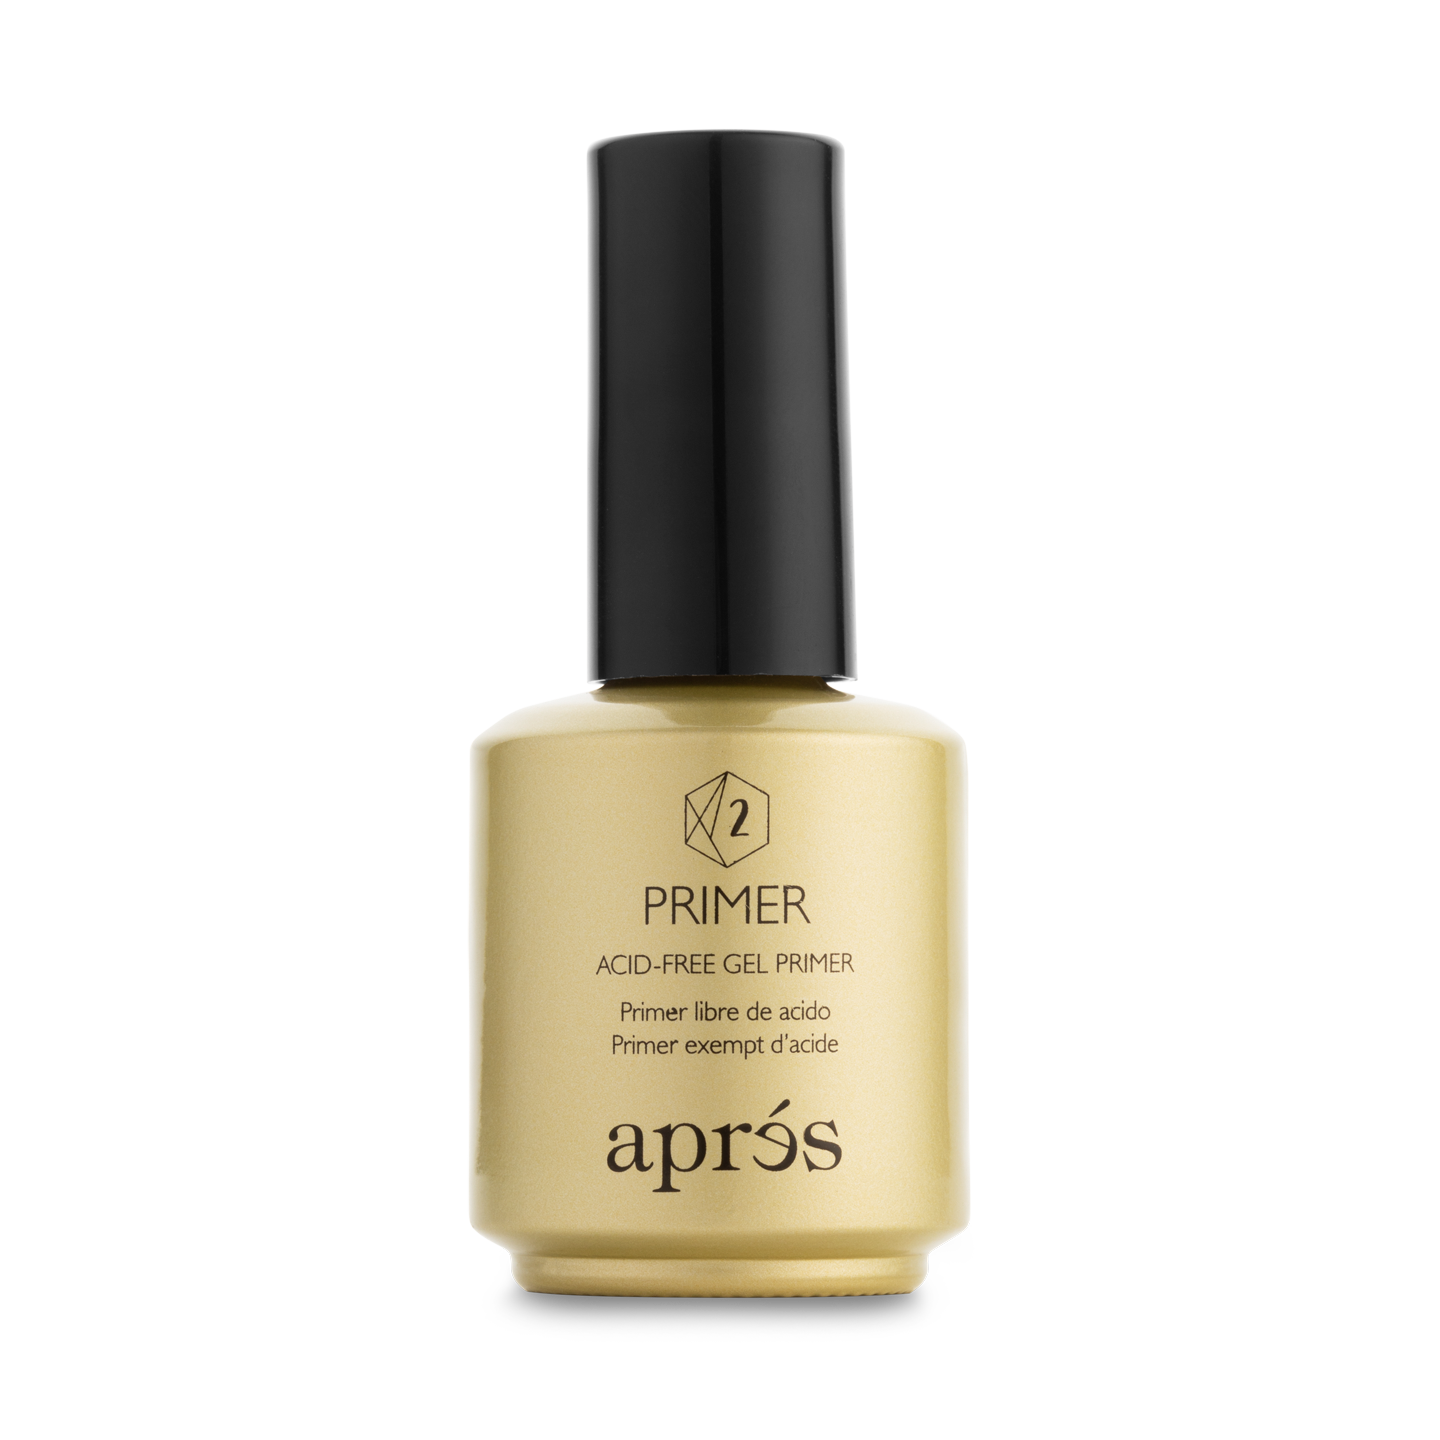
4. pH Bonder & Primer
- Apply one to two layers of pH Bonder to each nail.
- Follow with one or two thin layers of Gel Primer, allowing each coat a few seconds to dry.
5. Extend Gel Base Application
- Apply a thin coat of Extend Gel to the natural nail.
- Cure under an LED lamp for 30 seconds.
- Extend Gel is now available in bottle form, which makes application much easier.
6. Tip Application & Flash Curing
- Apply Extend Gel inside the etched tip.
- Press the tip onto the nail, ensuring no air bubbles, and “flash cure” under a mini LED lamp for a few seconds to hold it in place.
- If you’re working solo, a mini lamp is especially helpful.
- When applying the tips, the extension gel works as both bonding agent and adhesive, ensuring the Gel-X tips stay secure without lifting.
7. Full Cure
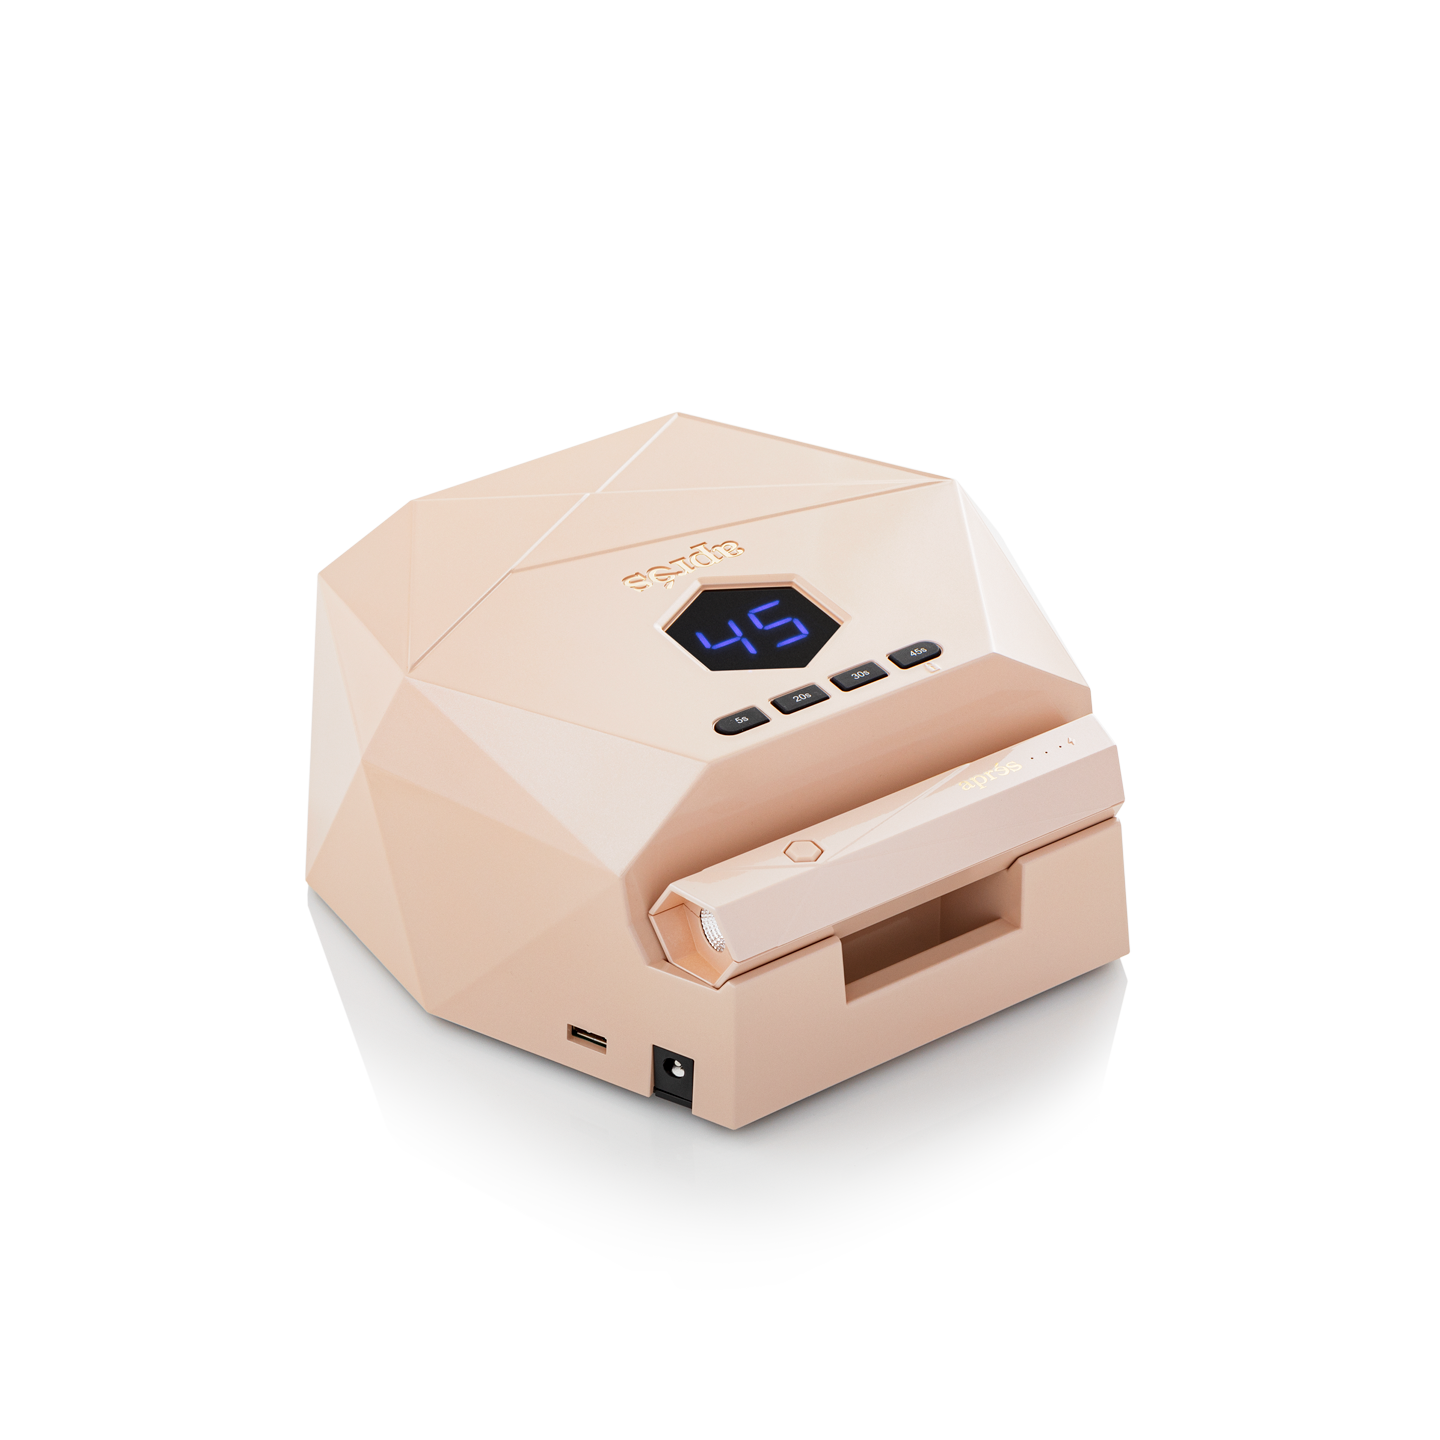
- Once all tips are flash cured, place your entire hand under a larger LED lamp (usually 48W or higher) for a full cure.
- This ensures the tips are completely secured.
8. Shaping & Trimming
- Use nail cutters to trim tips to your desired length.
- File and refine the edges for a smooth, customized look.
9. Surface Buffing
- Buff the surface of each tip to remove shine and prep for polish or design.
- Brush away dust with a nail scrub brush.
10. Finish & Design
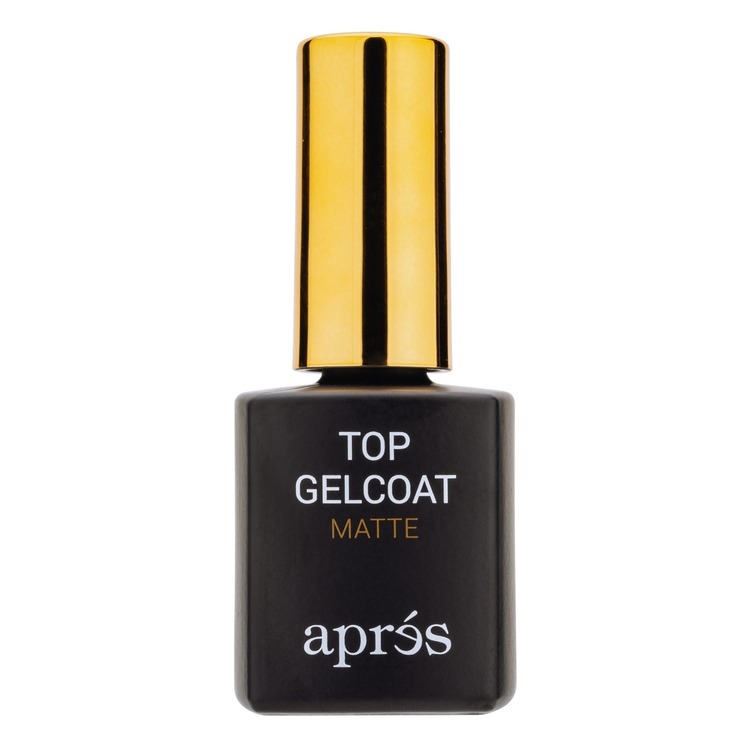
- Apply gel polish, nail art, or simply finish with a Non-Wipe Top Gel Coat.
- Cure as recommended for a lasting, glossy finish.
Benefits of Apres Gel X Nails
One of the biggest reasons Gel-X nails have taken off so quickly is how many advantages they offer over acrylics and hard gels.
Longevity – Most people find Gel-X nails last 3 to 5 weeks, about the same as acrylics. The key is the application of Gel X nails has less hassles compared to acrylic.
Gentle on natural nails – The soft gel formula requires less filing and uses fewer harsh chemicals. To remove gel x nails, soaking off in acetone is enough rather than heavy drilling, which makes it healthier for long-term wear.
Quicker application – Since Gel-X tips are pre-formed full-cover extensions, there’s no sculpting or complicated building involved. The process is faster, beginner-friendly, and still delivers a professional finish.
Customizable Options
With Gel-X, you’re not stuck with a one-size-fits-all look. The tips come in different lengths and shapes, and you can choose between natural or sculpted designs. That means they can work for both flatter nail beds and more curved ones, giving flexibility no matter your nail type.
Things to Know Before Switching to Apres Gel-X
If you’re thinking about moving from acrylics to Gel-X, here are a few points to keep in mind:
Cost & Convenience
In most salons, Gel-X sets cost a bit more than a regular acrylic fill. If your nails grow quickly, that might mean more frequent visits. On the flip side, at-home kits can be cheaper, though results may not last quite as long as a professional job.
Customization Limits
Since Gel-X tips are pre-shaped, you’ll get set lengths and styles to work with. You can file and trim them down to your liking, but they don’t allow the same endless sculpting that acrylics do.
Lifestyle Fit
Gel-X feels noticeably lighter and more natural compared to acrylics. They’re great for daily wear, but if your hands are often doing heavy work, you may see them lifting or breaking sooner than expected.
Allergies & Product Quality
Not all adhesives are the same. Some people may be sensitive to certain products, which is why sticking with Apres and working with an experienced nail tech can help reduce the risk of irritation.
Final Thoughts
Apres Gel-X nails have reshaped the extension game. They take the best parts of gels and acrylics, drop most of the downsides, and give both salon-goers and DIY fans an easier option. The application is straightforward, removal is gentler, and with plenty of lengths and shapes to pick from, there’s something for everyone. If you’re looking for a manicure that feels light, looks natural, and lasts for weeks, Gel-X is worth a try.


